The Frame
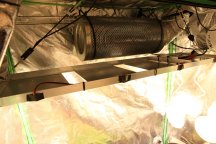
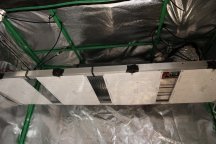
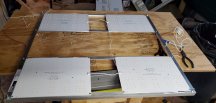
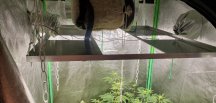
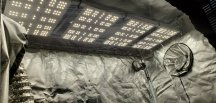
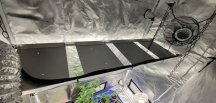
Here's the basic layout for the four boards. This diagram is drawn to scale. I wanted an even spacing around the boards within the tent. This means there is 2.5" between the boards and on the very ends between the board and the tent.
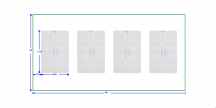
The aluminum angle brackets are kind of pricey, so I need to be sure to measure accurately, and avoid more trips back to Lowes to spend more money because I screwed up a measurement or cut.

So with a 4' length and an 8' length, I needed 6 pieces cut. 2-long pieces for the sides that the boards attach to. 2 pieces for the very ends of the fixture. And 2 pieces that hold the driver in place. Here are their measurements:
2 x 44 5/8" (the long sides)
2 x 12 5/8" (the end pieces)
2 x 12 3/8" (the driver rails)
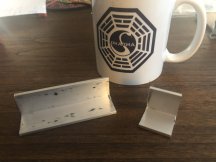
Luckily, I measured and cut correctly. Here's all that was left from those two pieces after all my cuts were made:
 Cutting the Frame
Honestly I was nervous about this part since I had no real experience cutting metal like this. Fortunately, using a miter saw with a standard carbide blade worked perfectly. These angle brackets are only 1/8" thick, no trouble at all for a miter saw. I imagine a table saw would work just as well. You could use a hacksaw, but that's a lot of work and would probably turn out kind of rough looking.
Safety First!
If you use a powered saw like a miter or table saw for this, please wear eye protection. It definitely will shoot little metal shards out!
Putting the Frame Together
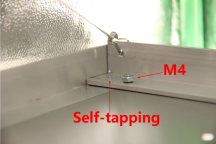
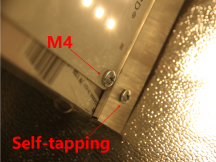
For this part, I used a 7/64" drill bit to create pilot holes for the self-tapping screws. My cordless drill couldn't hold the bits in place to get through the aluminum well. So I switched to a corded drill with a locking chuck, this worked much better.
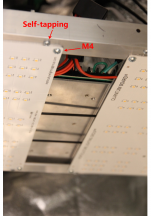
You want to drill through both pieces in the 4 corners, and then thread your self-tapping screws through from the bottom of the fixture. Use a normal Phillips screwdriver for this to avoid stripping the heads of the screws.
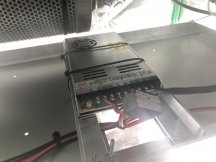
At this point, if you decide to mount your driver to the fixture, go ahead an attach the 2 rails where you want them using the same method as putting the frame corners together (create pilot holes, and use the self-tapping screw).
Attaching the Boards
The boards were placed so that the edge of the board was 1/2" away from the edge of the frame. This placed the boards holes pretty damn near center of the angle brackets. I used the 1" angle bracket, but plenty of others have used 3/4" brackets. Either will work fine. My Lowes only had the 1" stuff in stock. Also, definitely go with 1/8" thick brackets, the 1/16" stuff seems flimsy in comparison.
For this, I used the 5/32" drill bit to create holes for the M4 screws. I suggest getting a pack of short (like 1/2" long) and pack of longer (maybe 3/4" - 1" long) M4 screws. Luckily I had some longer ones on hand. I needed the longer ones for mounting the boards near the driver rails (the screws needed to go through both the frame and the driver rail in that spot, you can see it in one of my previous pictures).
Again, the screw should go through from the bottom up, and then secured with an M4 nut.
(Notice the longer M4 screws that had to go through both the frame and the rail):
